Friday, 28 January 2011

'Look - I've journalled'


I'll fess up - my biggest challenge with scrapbooking is journalling and I'll either leave it out all together or use hidden journalling panels. However, I really want my kids to remember details behind the photos and in the case of this page, journalling is vital as the boys probably wont remember this far back themselves.

This page features 'Blueberry Crisp Designer Series Paper' on a 'Cajun Craze' Cardstock Base. 'Razzle Dazzle' on page 69 of the 2010/2011 Idea Book & Catalogue is the coordinating stamp set to the DSP. Instead of the larger steel rule Alphabet Dies I have been using recently, I switched to the smaller 'Timeless Type Junior Alphabet Medium Sizzlit Dies', so that I could fit my titles on the page.


The accent was created using a chipboard circle covered with very vanilla cardstock and stamped using the 'Rock and Roll' technique using 'Sahara Sand ' and 'Cajun Craze' Classic Inks.


Here's a visual of some of the tools and materials I used. The 'Two Way Glue Pen' is the easiest way to stick down smaller die cut letters that I have found. It is kind of like a 'glue texta', with a nib that allows you to 'draw' glue on small areas.


Tuesday, 25 January 2011

More 'Presto Patterns' Scrapbooking


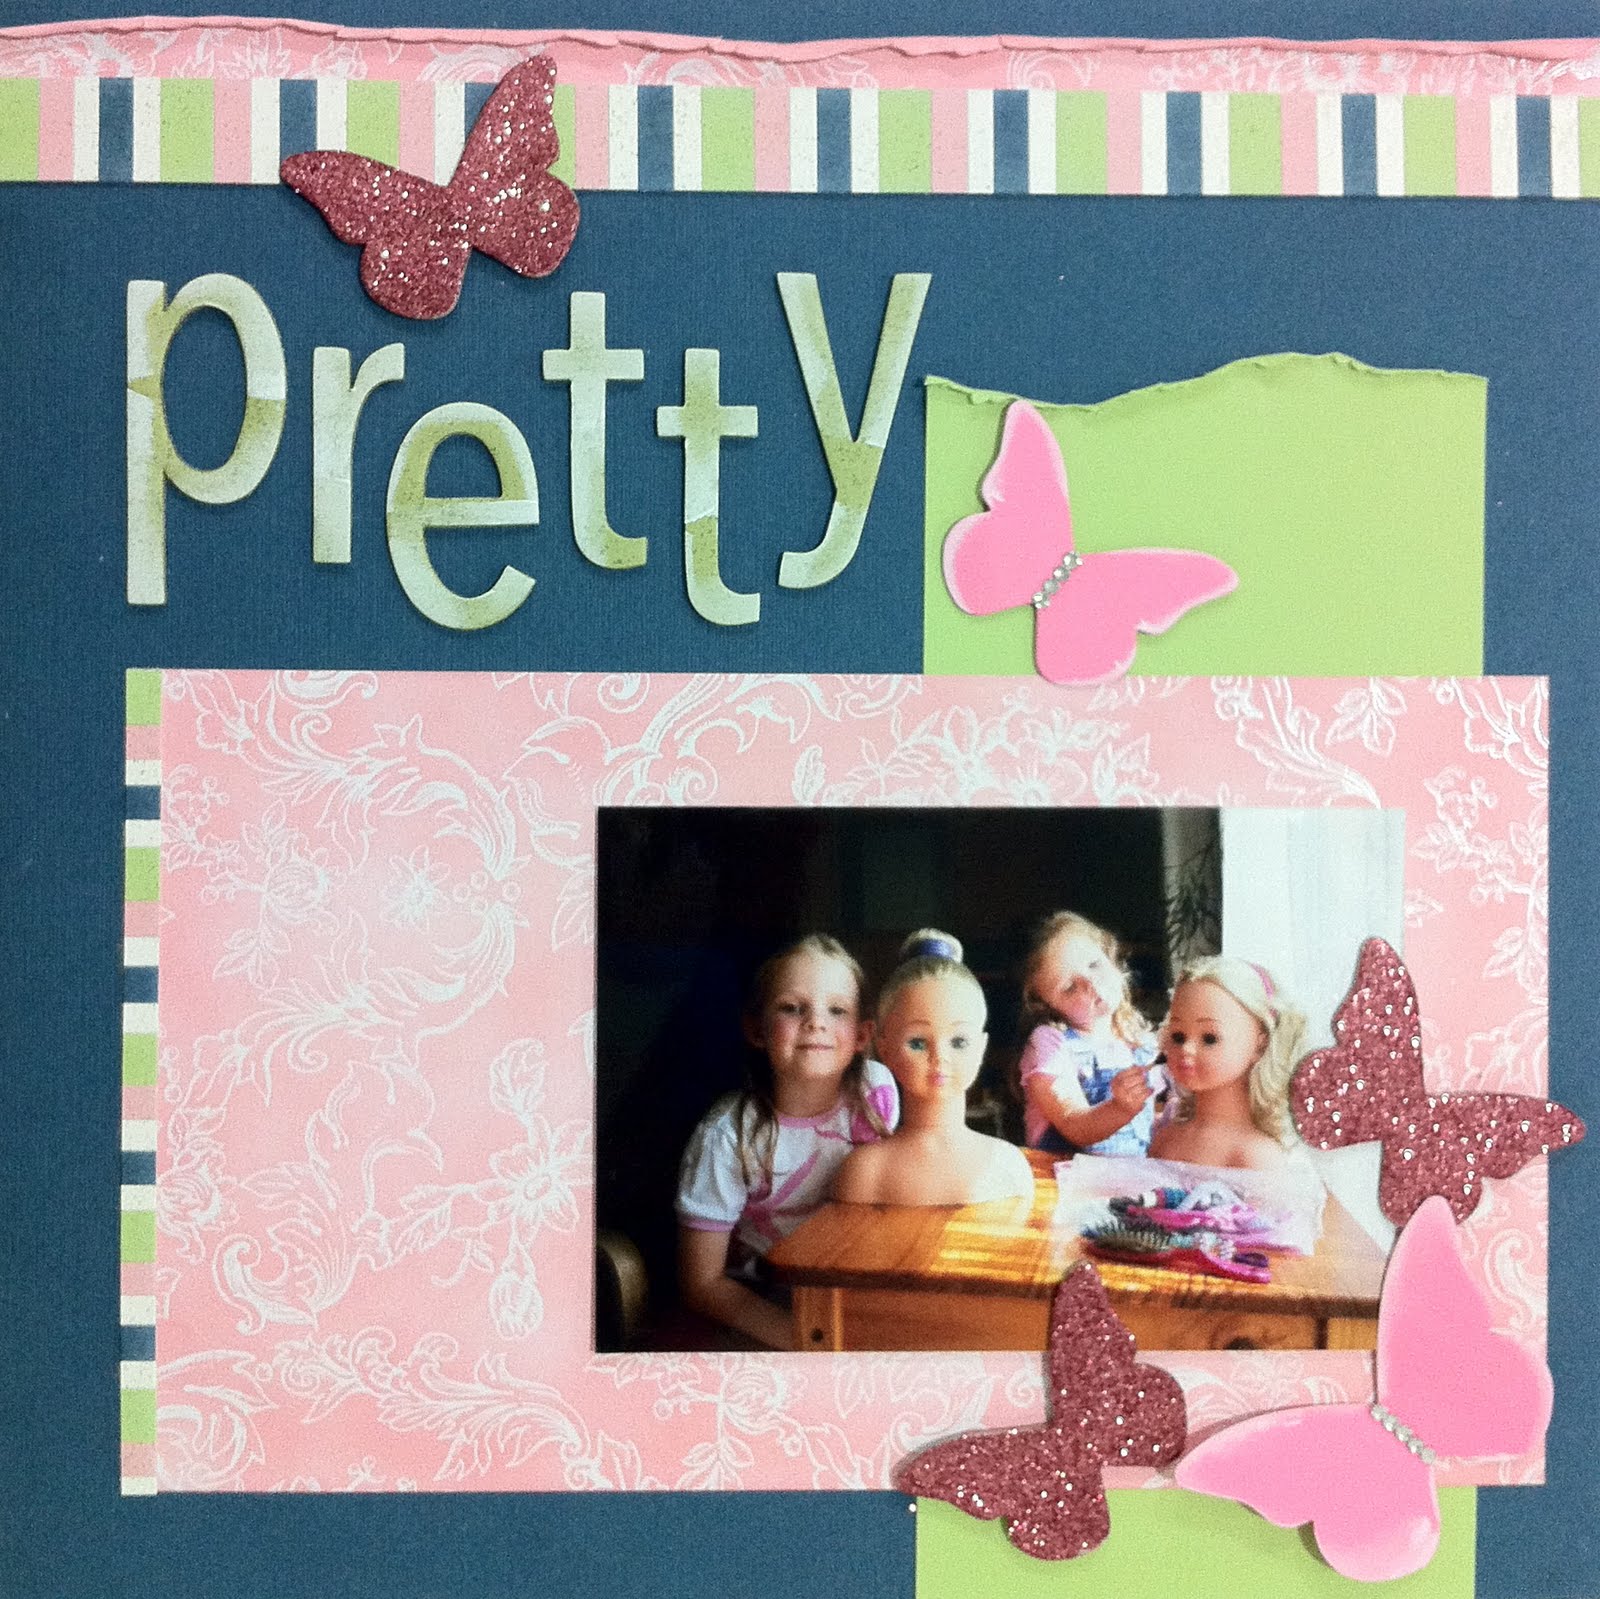
Following on from my last post, I have continued enjoying working with 'Presto Patterns Specialty Designer Series Paper', which allows me to sponge my own choice of colour over a clear embossed image. Presto Patterns contains an assortment of designs, including this lovely floral pattern, which I sponged with 'Blushing Bride Classic Ink'. 'Not Quite Navy', 'Blushing Bride' and 'Certainly Celery'/'Pear Pizzaz' Cardstock, made a striking colour combination, which I accented with 'Regal Rose' Cardstock & Pink Supernova Glitter Butterflies.

I used the same 'Simple Letters Alphabet' used in the last post, however, this time I covered the chipboard with 'Pear Pizzaz' Cardstock prior to cutting the letters out with the 'Big Shot Die Cutting Machine'. The striped 'paper' is in fact paper created with mini strips of all the colours I used. This technique may be found in an earlier post, 'A Christmas Card with a Handy Hint'.

Monday, 24 January 2011

Create everything you need


One of the very first things that attracted me to Stampin Up, was the idea that I could create any background, accents and titles that I wanted. I began this page with the very cool 'Presto Patterns Specialty Designer Series Papers' on page 10 of the current Summer Mini Catalogue. Having chosen the script paper, which is in fact clear embossed script on a white background, I sponged 'Marina Mist Classic Ink' around the page perimeter and 'Certainly Celery Classic Ink' in the centre of the page. I then blended these two colours with the 'Marina Mist' to achieve a graduated change of colour rather than a harsh line. I sponged 'Prettty in Pink Classic Ink' onto another strip of 'Presto Patterns DSP' which I edged with the 'Scallop Trim Border Punch'. I then used 'Tiny Tags' and 'Artistic Etchings' Stamp Sets to 'frame' the 5 x 7 inch photograph using 'Black Staz On'.


Fabulous Floral accents were created using the NEW 'Island Floral Bigz Die', which you use with the Big Shot Machine. I distressed each flower using a bone folder and then split each one into 2, giving me that lovely fuzzy textured finish on the pink blooms. The center of the fuzzy pink blooms was created by punching out a 3/4 inch circle, distressing, splitting in half, scrunching up and securing at the back with a dimensional. The daisies were created using 'Paper Daisies' from the main Idea Book & Catalogue with a 3/4 inch circle which was punched with a mini hole punch.


The 'acrylic style tag' was created using the 'Oval Steel Rule Big Shot Die' with 'Thick Window Sheets' on page 122 of the main catalogue. I then stamped a greeting from the very useful, 'Word Play' Stamp Set using Black Staz On, whipped up a 'cheats bow' and secure to the page with a combination of 'Crystal Effects' and Glue Dots.

It was pretty hard to rip the background page but I forced myself to risk it, inked it up a bit more with 'Marina Mist Ink' and rolled the edges back. I then filled the back with a remnant of 'Newspaper Print DSP", which I had inked with 'Marina Mist'. Easy!

Finally I created my glittered chipboard letters using the 'Simple Letters Alphabet' which is the Big Shot Steel Rule Die Set I have been using a lot lately. Before I cut the chipboard out, I covered it with double sided 'jac' paper, which would be the only element not available from Stampin Up - you might have access to another type of double sided stick paper or you could replace this with another glue that you apply after cutting the letters out. Once the letters were cut out, I simply peeled back the second layer revealing the tackiness and smothered with 'Aqua Fine Supernova Glitter' on page 141 of the main catalogue. I adhered the letters to the page with 'Tombo Mutipurpose Liquid Glue'.

I'm really happy with what I was able to create for myself using raw materials in the colour combinations that I wanted. If you don't feel game to try this at home, you can always stock up on the required products and come along to a crop night, where I would be happy to help you create this page.

Wednesday, 12 January 2011

Another Scrapbooking Idea to Share


Definitely not a 'fussy la la' (Ursulaism) scrapbook effort, this double page spread accommodates an impressive 12 photographs. These photos were taken in 2006 of one of our favourite spots (Wellington Point) and really needed the 'just do it' approach.

The small photographs are trimmed to 3 x 4 inches and the larger photos are simply the standard 4 x 6 photo. The DSPs are taken from the 'Blueberry Crisp' Designer Series Paper, which really is not crisp at all, rather distressed so go figure. Anyway, I created the fancy mat simple by tracing it from another paper I had and then inking the edges in Whisper White Craft Ink and embossing to set - you could also use white craft ink. The title was done with the same tools used in my last posting, along with the smaller sizzlits to create the word "Island'. Shock Horror - I actually was brave enough to display my scrawl and journaled in a white gel marker.

Result? My kids loved it so I'm happy!

Monday, 10 January 2011

Scrapbooking Pages to Share


My first scrapbooking 'Crop Night' on Saturday was lots of fun and a few of us recreated the page from the previous post. I used the remaining papers from 'Elegant Soiree' Designer Series Paper, which as it turned out, matched perfectly with a photograph taken of my sister in the early 70's. The beautiful butterflies die looked fabulous again, creating perfect accents accented with rhinestones on the larger butterfly.


I have a huge box of photographs that I am determined to sort through and scrapbook the most special memories. I have no intention of scrapbooking everything - just a selection of my favourite ones! As you can see, my taste in scrapbooking is fairly eclectic as I really love to experiment with all styles. 'Pacfic Point', 'Daffodil Delight' and 'Real Red' cardstock were the perfect canvas for my son's K'nex creations, accented with 'Bold Brights' Buttons and Simple Bigz Letters, which are Sizzix Dies exclusive to Stampin' Up!


I started this layout in Crop Night and finished the next morning. Small pieces of 'Nursery Suite' Designer Series Specialty Paper were used to frame, create accents and make a title for this lovely photo of my friend's baby announcement. I will put this layout in my 'People we love Album'. This is a library system outlined in Stacy Julian's book, 'The Big Picture'. I am giving a copy of this fabulous resource valued at $49.95 to demonstrators who join my team during 'Sale a Bration' before February 11th.


I created this cute pram accent, using a strip of pleated paper along with a segment of the scallop circle Big Shot Die.


These chipboard letters were created by covering scrap chipboard with Designer Series Paper and then running them through the Big Shot using the 'Simple Letters' Bigz 'Steel Rule' Dies. It is only possible to cut through this sort of thickness using 'Steel Rule' Dies. They are a bit more expensive, but pay for themselves before long as you never have any wasted letters or missing vowels again - simply make what you need.


I am having another 'Crop Night' this Tuesday evening, starting at 7pm and I'd love to see you there. I have 4 places available.

Friday, 7 January 2011

Crop Night this Saturday


Inspired by a layout design by Veronica Goh, I created my version with the gorgeous 'Elegant Soiree' & 'Newsprint' Designer Series Paper. A textured 'Soft Suede' 12x12 base with 'Baja Breeze' Butterfly Accents, cut with Stampin' Up!s exclusive 'Beautiful Butterflies' Bigz Big Shot Die, demonstrate perfectly why Stampin' Up! are the masters of coordination.

Come along and CASE (copy and share everything) this elegant layout this Saturday night at my first Crop Night of 2011. Limited to 6 people and starting at 7pm, Crop Night is $10 and includes use of tools such as the Big Shot as well as a light supper. Check out the following link to view all my events for January, February and March http://www.stampinup.net/esuite/home/lizcollett/events

RSVP via email liz@danichbe.com

Saturday, 11 December 2010

'What women really want'


Imagine receiving the most versatile, sturdy and portable die cutting & embossing machine on the market for Christmas! Better still when you purchase from a Stampin' Up! Demonstrator, you receive set-up, training and ideas to maximise the use of your machine as well as the confidence that your warranty is serviced within Australia.

When you purchase a machine from Liz Collett, you also receive 10 free Big Shot Club Classes valued at $100. Big Shot Club Classes normally cost $10 each and include a make & take and commence in January (25th & 30th – 'With One Die”) and you can find more details as well as the February/March dates on the upcoming class schedule. If you have already purchased a machine in 2010, you are also eligible for this offer.

Place you order by contacting Liz on 0448 896 001 or email liz@danichbe.com
PLEASE ORDER BY DECEMBER 15th TO GUARANTEE CHRISTMAS DELIVERY